DIY panel
Many people have commented that I am a very careful Red Sea Pedestrian, so when we lost the outer cover panel from the fridge, I checked the cost of a replacement - and then started plotting….
I was reliably informed that the cost of the replacement was a lot - so I started to look for what I actually needed.
I found a 3mm thick white gloss sheet on Amazon for 20 drinking vouchers, and I also sourced a selection of well nuts that I knew would be needed to safely secure the panel when completed. Additionally, I sourced a large cardboard box from Lidl. By chance I had a grille still in its packaging from a project a couple of years ago - a new one would cost around £10 from amazon I believe.
The card board bos was flattened and then, with the aid of a set square, metre long rule and and craft knife - and the assistance of Number One Son a template was made.
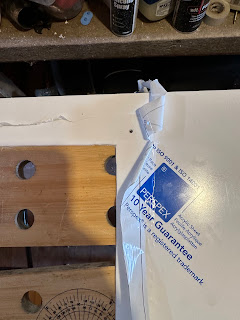
Once the template was made, and a good fit obtained the we moved the template over too the acrylic sheet NOTE - the plastic wrapper stayed on the sheet - this allowed us to mark easily!
The actual cuts were done with scoring using the steel rule and craft knife, then a cutting wheel on a dremel - quite a few cutting wheels but!
Please note that you do need to wear a mask - lots of dust.
After that was completed, we needed to cut a hole for the grille to fit over - we actually used and applied various bits of trigonometry, geometry and possibly even some Pythagoras…. I learnt all that stuff decades ago so….
Once that was done, it was time to secure the panel, using the holes in the bodywork - they were mucky and you could clearly see where the old mounts had rusted away. This is where the wellnuts were to be used !
We actually used some Cirtex glue to hold the brass threaded section in the rubber sleeve, and used a space washer to secure from the out side


Comments
Post a Comment